Mounting and Installation
The TASm2m WP500 units can be snapped onto a standard DIN rail (EN50022) in a flat panel. Refer to below figure to properly mount the WP500 unit.
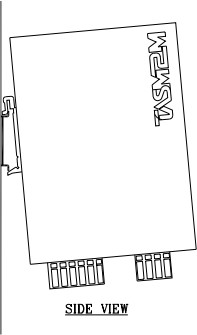
Recommended Din rail mounting & removing procedure.
- Hook the top of unit over the din rail.
- Push bottom of the unit towards din rail until it snaps into the rail.
- Follow reverse steps to remove the unit.
|
NOTE: Damage to the contacts when tilting the modules Using a DIN rail with an installed height greater than 7.5 mm: If the height of the DIN rail exceeds 7.5 mm, this can lead to tilting of the modules when mounting or removing the modules. This may damage the contacts. • When using these DIN rails, make sure that the modules are perfectly perpendicular to the DIN rail when mounting or removing them. |
|
NOTE: Damage to electronics from the fixing elements Danger of malfunction If the fixing elements (screw, rivet, etc.) are too high, the bus base modules or the WP 500 are not correctly snapped onto the DIN rail. For fixing the DIN rail, only use elements with a maximum installation height of 3 mm. |
The distance between DIN rail fasteners must not exceed 200 mm. This distance is necessary for the stability of the rail when mounting and removing modules.
Mount the modules vertically on the DIN rail. As the module does not need to be tilted it provides easy installation and removal, even in confined spaces.
![]()
Recommended DIN rail spacing is 280 mm. This spacing allows room for wire duct to be installed without obstructing field wiring installation.
Created with the Personal Edition of HelpNDoc: Streamline Your Documentation Process with HelpNDoc's Project Analyzer