LAN
The LAN section under the Network menu in the WP500 gateway allows you to configure network segments for three LANs: LAN 0, LAN 1, and LAN 2. Each LAN can be customized with specific DHCP settings and network parameters.
.
Configuring Each LAN Port:
- Accessing the LAN Configuration:
Log in to the web configuration interface.
Navigate to the "LAN" section under the "Network" menu.
- DHCP Configuration:
For each LAN port (LAN 0, LAN 1, and LAN 2), specify whether DHCP is enabled or disabled.
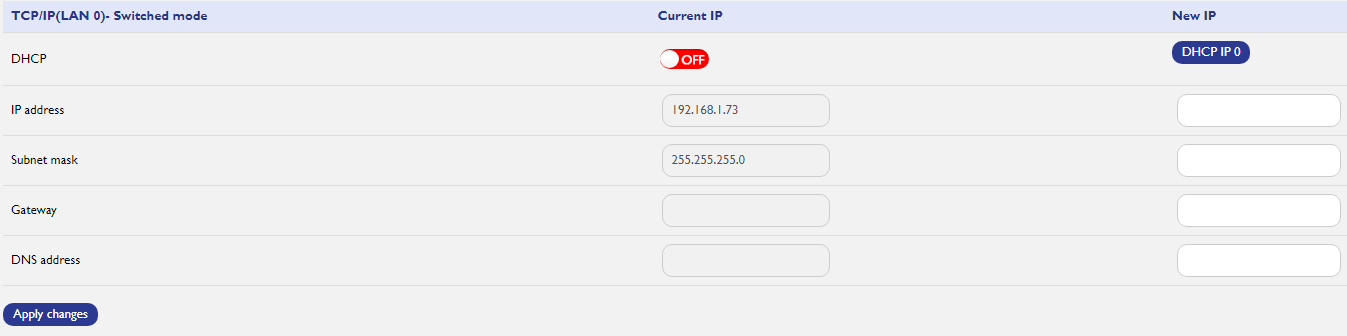
- LAN 0 Configuration:
Enter the following details for LAN 0:
IP Address: Set the desired IP address for LAN 0.
Subnet Mask: Define the subnet mask for LAN 0.
Gateway: Specify the gateway for LAN 0.
DNS Server: Enter the DNS server details for LAN 0.
Port Status: Choose to enable or disable LAN 0
Click on "Apply Changes": After configuring LAN 0, click on the "Apply Changes" button to update the configuration
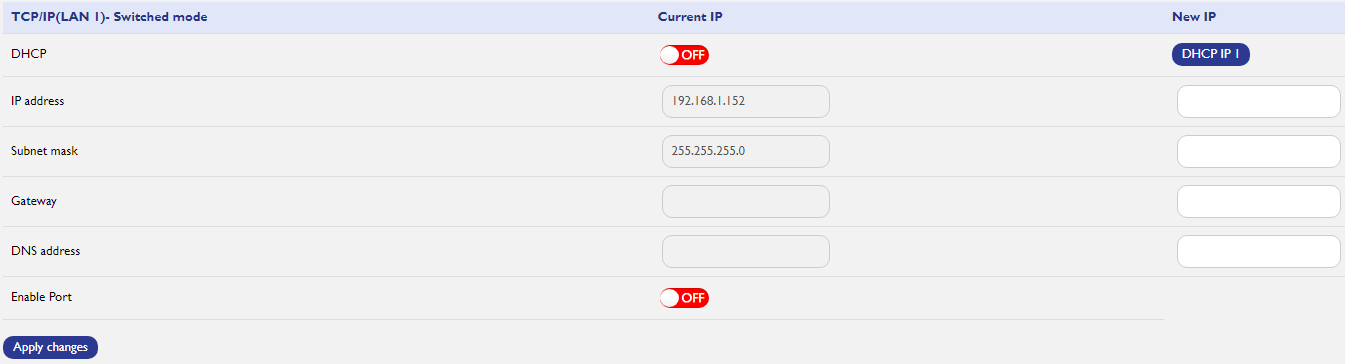
LAN 1 Configuration:
Enter the same details for LAN 1 as configured for LAN 0:
IP Address: Set the desired IP address for LAN 1.
Subnet Mask: Define the subnet mask for LAN 1.
Gateway: Specify the gateway for LAN 1.
DNS Server: Enter the DNS server details for LAN 1.
Port Status: Choose to enable or disable LAN 1
Click on "Apply Changes": After configuring LAN 1, click on the "Apply Changes" button to update the configuration
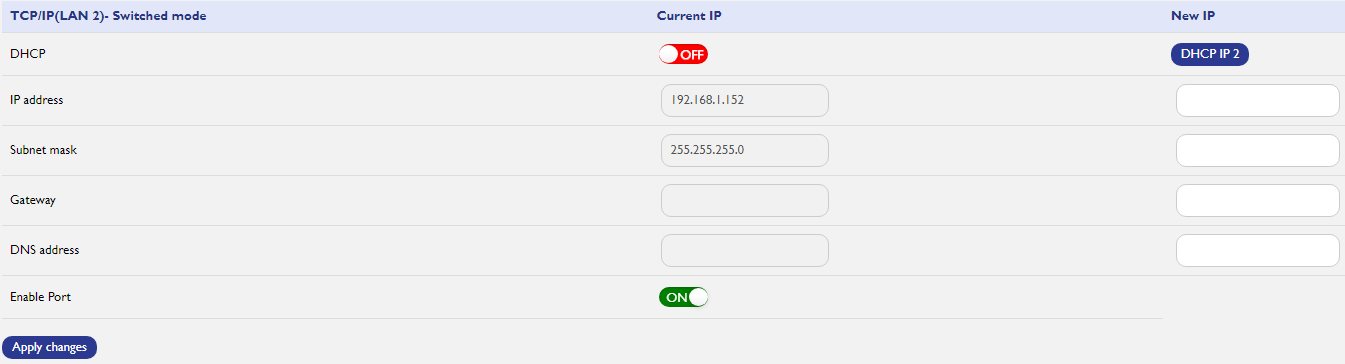
LAN 2 Configuration:
Enter the same details for LAN 2 as configured for LAN 0 and LAN 1:
IP Address: Set the desired IP address for LAN 2.
Subnet Mask: Define the subnet mask for LAN 2.
Gateway: Specify the gateway for LAN 2.
DNS Server: Enter the DNS server details for LAN 2.
Port Status: Choose to enable or disable LAN 2
Click on "Apply Changes": After configuring LAN 2, click on the "Apply Changes" button to update the configuration
Created with the Personal Edition of HelpNDoc: Easily create EBooks